English
WT9901C3-SN2 Beginner's Guide
Update history
| Date | Version | Author | Update content |
|---|---|---|---|
| 2025-12-03 | 1.0.0 | Kirto | Initial document release |
1. How to Flash the AT Firmware
1.1 Preparation
The WT9901C3-SN2 development board requires the following hardware and software for firmware flashing:
- Hardware:
WT9901C3-SN2development board x 1TypeC USBcable x 1- Personal computer (supports
Windows 7[64-bit],Windows 10,Windows 11) x 1
- Software:
- AT Firmware x 1
- Flashing Tool x 1
1.2 Entry Page
Open the flashing tool and double-click the .exe file to enter the tool's main interface. Change the ChipType to esp32c3 as shown in the image below:
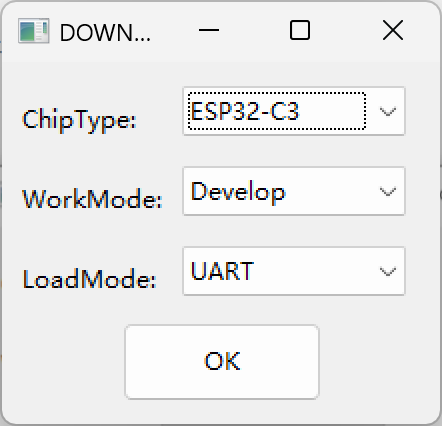
Click "OK" to enter the flashing main page.
1.3 Select AT Firmware for Flashing
Connect the microcontroller to the computer via the TypeC USB cable, and identify the corresponding COM port.
Unzip the downloaded AT firmware, and configure the flashing tool as shown in the image below:
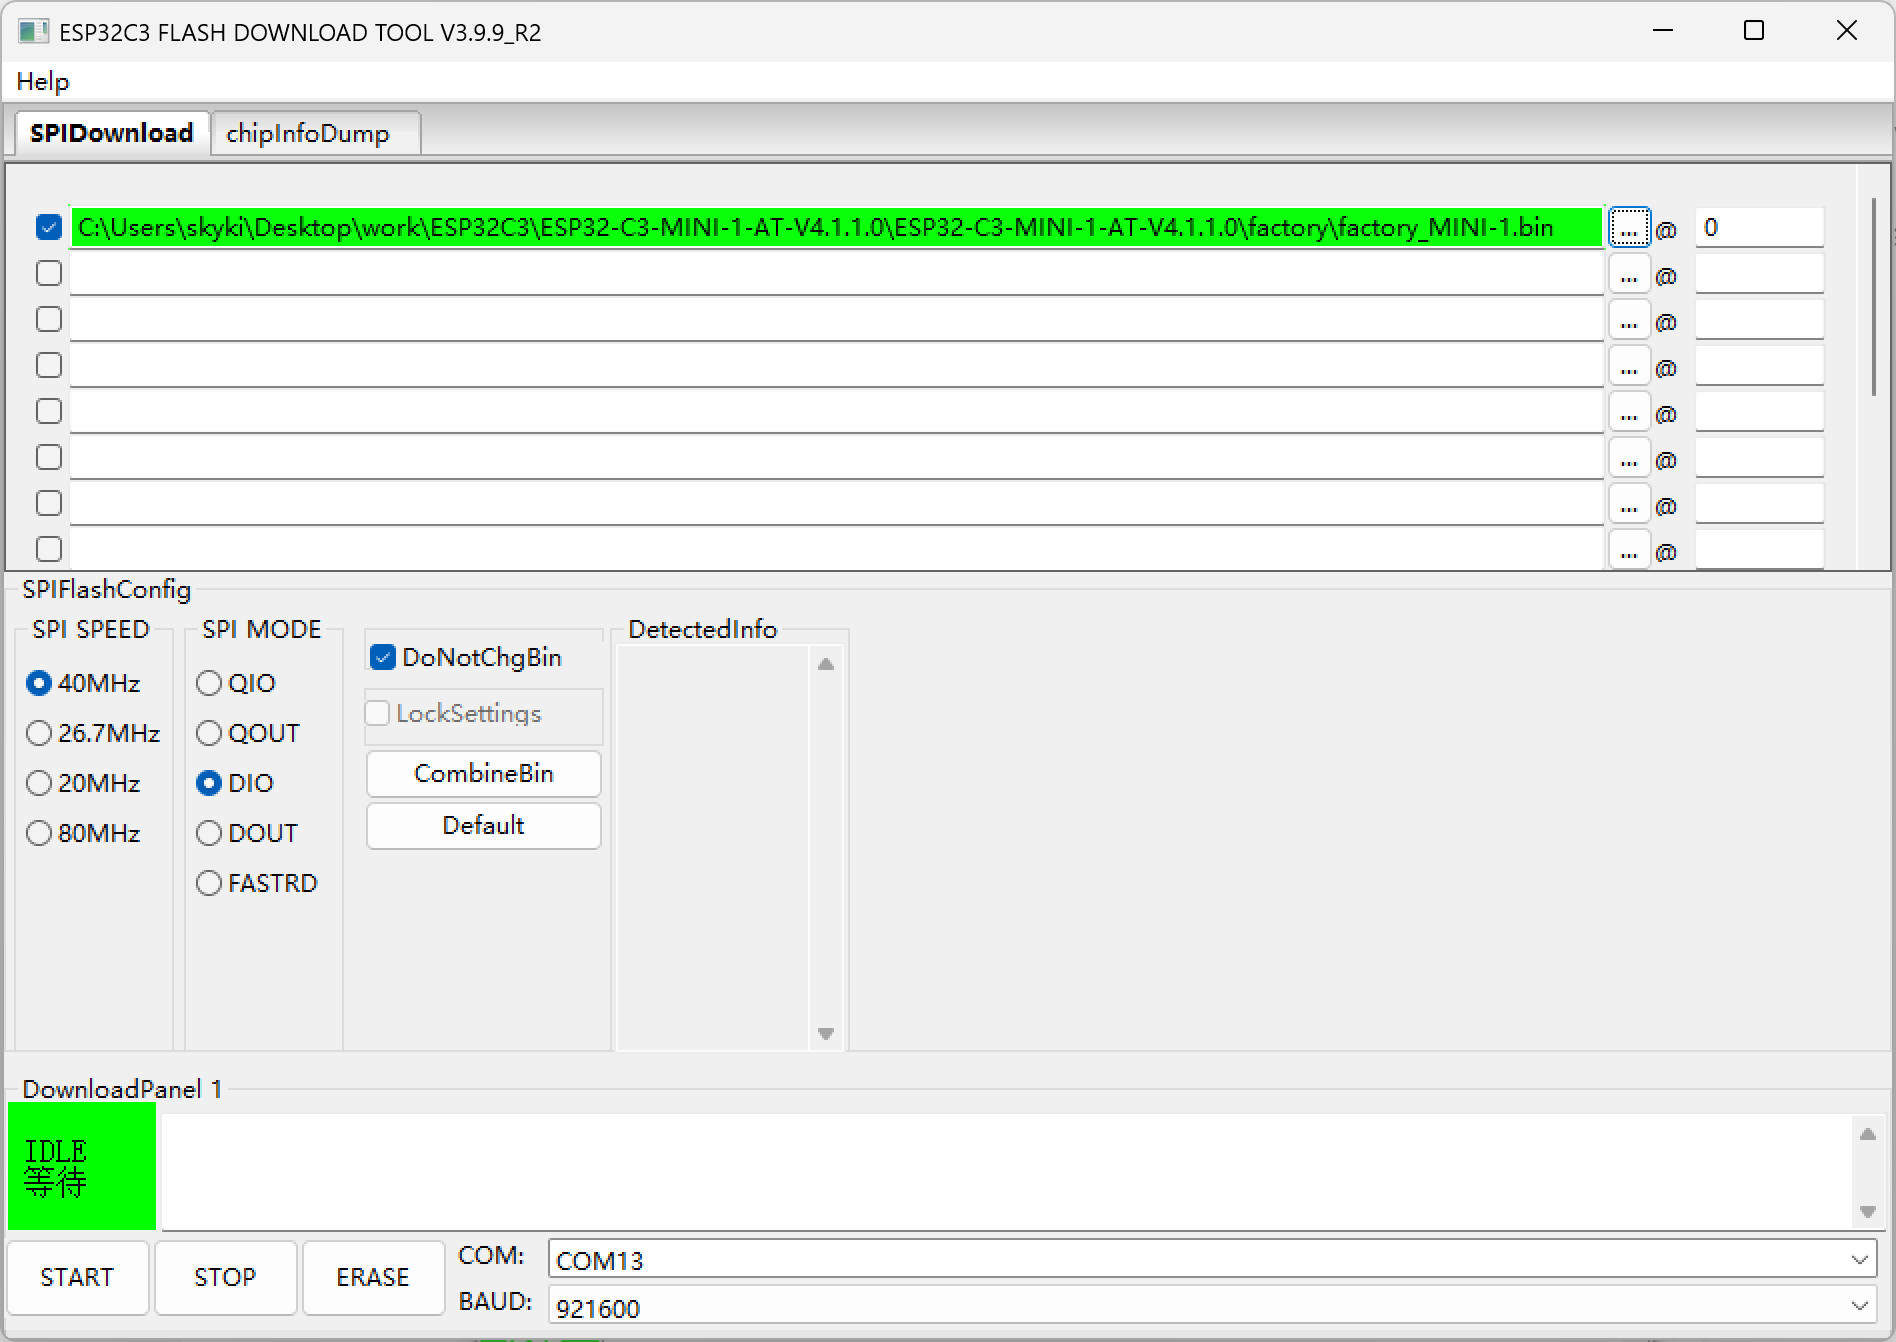
Click START to begin the flashing process.
Open the serial port tool and configure the settings:
- Baud rate: 115200
- Data bits: 8
- Parity: None
- Stop bits: 1
- Flow control: None
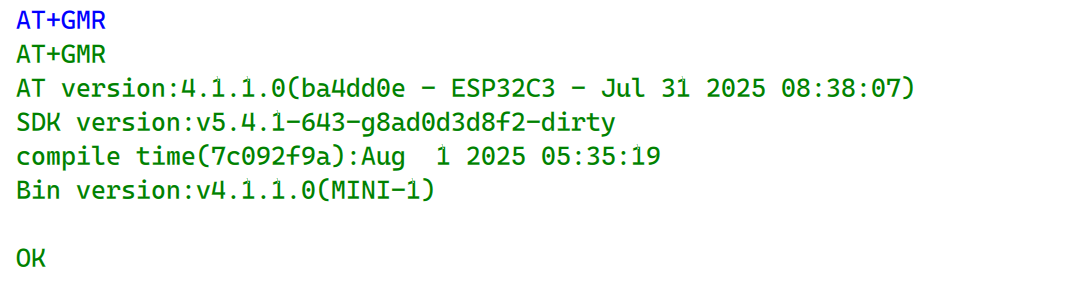
Input the command "AT+GMR" and press Enter (CRLF). If the result appears as shown in the image below, the flashing was successful:
2. How to Set Up ESP-IDF and Flash the Hello World Example
Set up the environment following the Espressif official guide.
Copy the
examples/get-started/hello_world/folder to your working directory.Activate the
esp-idfenvironment:
Done! You can now compile ESP-IDF projects.
Go to the project directory and run:

  idf.py build
- Set the target to
esp32c3:
idf.py set-target esp32c3
- Build the
hello worldexample:
idf.py build
- Flash the
hello worldexample:
idf.py flash -p <PORT>
- Open the serial monitor to view the output from the
hello worldexample:
idf.py monitor -p <PORT>
3. How to Use the WT9901C3-SN2 as a Programmer for Other Development Boards
Short the EN and GND pins with a jumper cap. The development board will then function as a programmer or serial monitor.